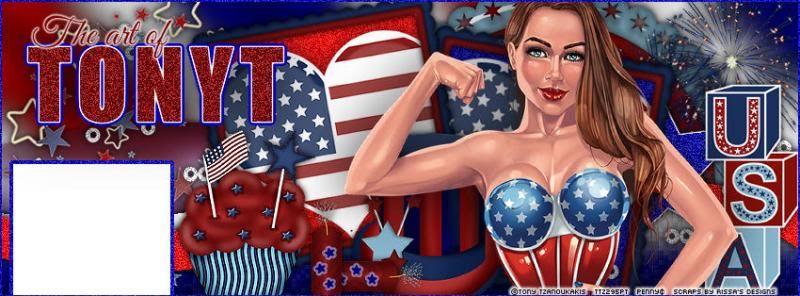
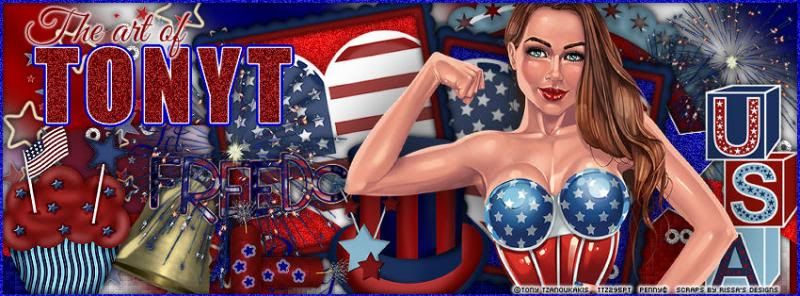
Freedom Facebook Timeline Banner
This tutorial was written by me on June 11, 2013, using my own ideas. Any resemblance to others is coincidental and accidental. This tutorial assumes you have a working knowledge of psp and is written in PSPX.
Please leave some love when downloading supplies. The artists/creators work hard to make/share their work with us, so let's be appreciative. Please use all correct copyright/license information and follow all TOU’s. Let’s give credit where credit is due.
As always, tutorials are only a guideline. If you don't have the exact supplies, use ones you have or ones you choose.
Supplies:
~*~*~ At the time of this tutorial, both the tube and kit were soon to be released ~*~*~
Xero_Duochrome and Fritillary
Unplugged Effects_TV Noise
Eye Candy 5/Impact_Perspective Shadow
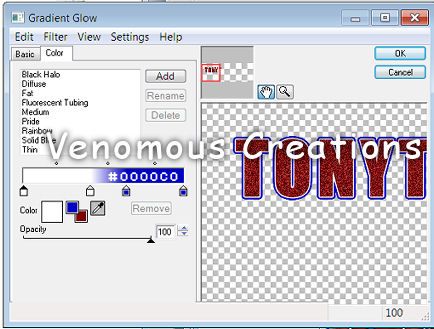
Eye Candy 4000_Gradient Glow
Font_Impact and Good Vibrations
Abbreviations:
EC = Eye Candy
GG = Gradient Glow
DS = Drop Shadow
C/P = Copy and Paste
FF = Flood Fill
ANL = Add New Layer
AS = Animation Shop
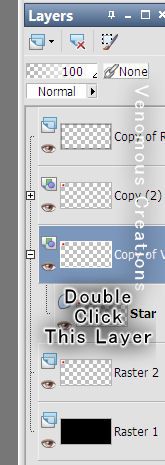
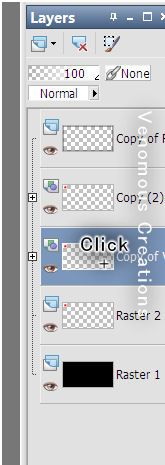
Open template_Shift+D_Close original
Close/delete all word layers
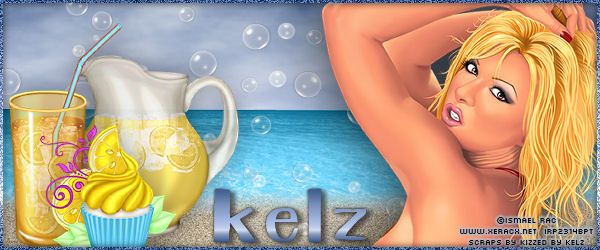
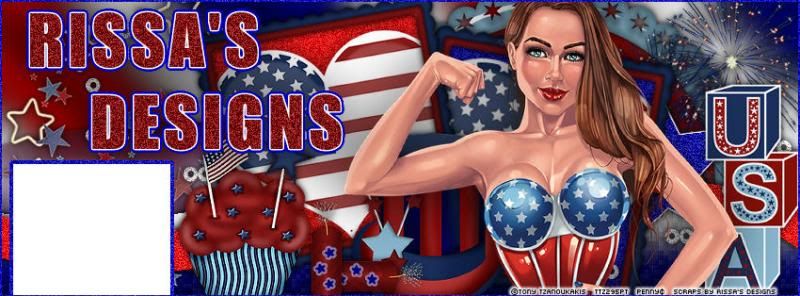
For personal timeline banner, be sure to leave the bottom left white space clear for your Facebook avatar (Banner 1)
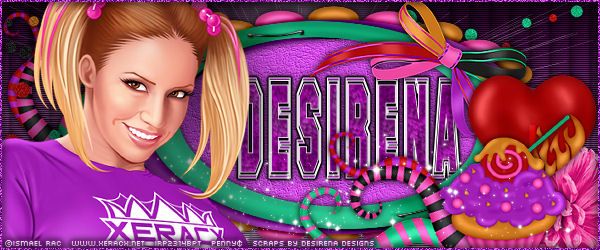
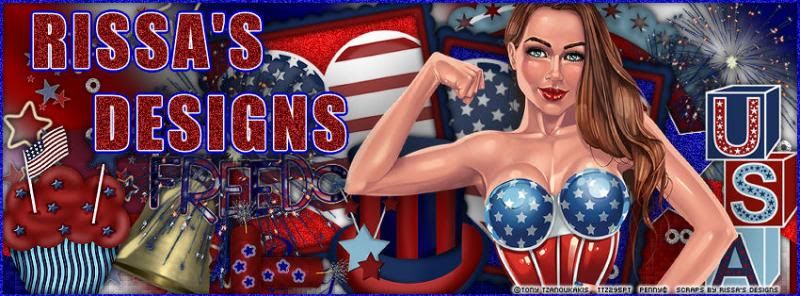
If making for a fan page, use your freehand select tool to continue the shapes as you do each layer before flood filling. Or you can place elements to cover the area. (Banner 2)
On each layer, repeat these steps:
Select with magic wand_ANL_follow directions_Select none
Blue_FF with gradient _angle 45_repeats 3
Blur_Gausian Blur_15_Select none
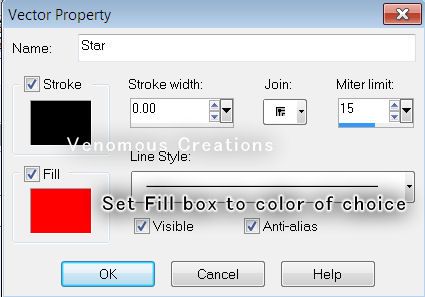
Purple_FF with gradient_angle 0_repeats 0
Repeat Blur
Xero_Duochrome_Default_Select none
Yellow_FF gradient_Same settings
Repeat blur
Duplicate
Xero_Fritillary_5_30_10_15
Select none
Purple ribbon_Select_ANL_FF #ff0000
DSB Flux_Bright Noise_70
Sharpen
Left Square_FF #ff0000_Unplugged Effects_TV Noise_46
C/P Heart_DS_0_0_50_25_Black
Rotate Left 10
Erase anything showing past edge of square
Right Square_Repeat above steps changing color to #0000c0
Rotate the heart right 10
C/P Frame 1
Rotate Left 10
Re-size to fit over left square above heart
Duplicate_Mirror_Place over right square above heart
Right/Left Star_FF #0000c0_Noise 77
Small Circles_Noise 100
Border_FF #0000c0_Noise 55
Add/place any elements you like
C/P tube and place as shown
DS all elements/FF layers_0_0_100_10_Black
DS tube_EC5_Perspective Shadow_Default
Add all correct copyright/license information
Name_Impact_100_#800000
Noise_60
EC4000_GG_Following settings:
“The art of”_Good Vibrations_48__#800000
EC4000_GG_3_25_100_White
Merge name layers together
DS_Perspective Shadow
Highlight the blue background layer
Select inside the white area
Delete anything showing
Select none
Save!!